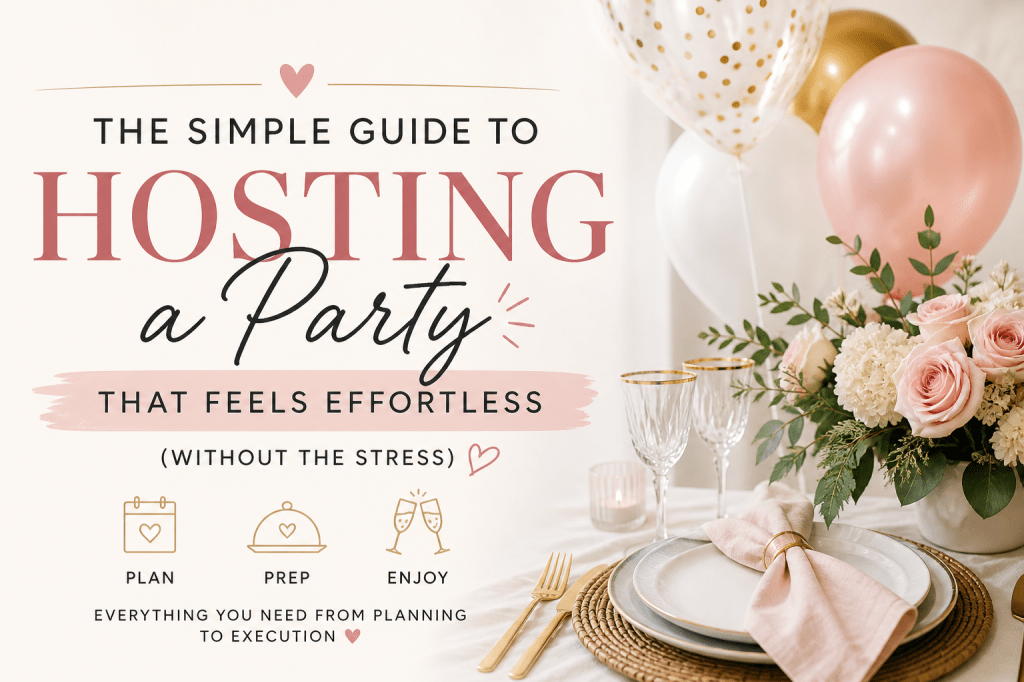
Hosting a party doesn’t have to feel overwhelming. Whether it’s a birthday, baby shower, holiday gathering, or backyard get-together, the key isn’t perfection—it’s having a simple plan that actually works.
This is the exact step-by-step approach I use to host parties that feel organized, welcoming, and enjoyable (for you and your guests).
Step 1: Start With a Clear Plan
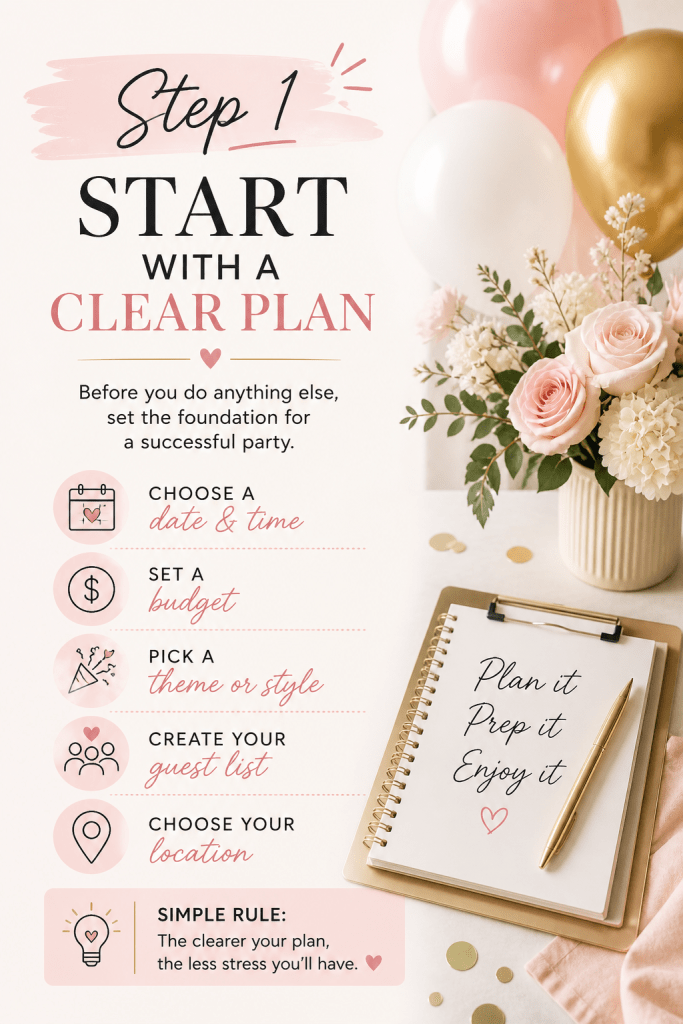
Before you buy anything or send invites, decide on the basics:
- Type of event: birthday, shower, holiday, casual gathering
- Guest list: how many people you’re hosting
- Location: home, backyard, rented space
- Date & time: morning, afternoon, or evening
- Theme (optional): this makes everything easier later
👉 Simple rule:
The smaller and clearer your plan, the less stress you’ll have.
Step 2: Choose a Theme or Style (Keep It Simple)
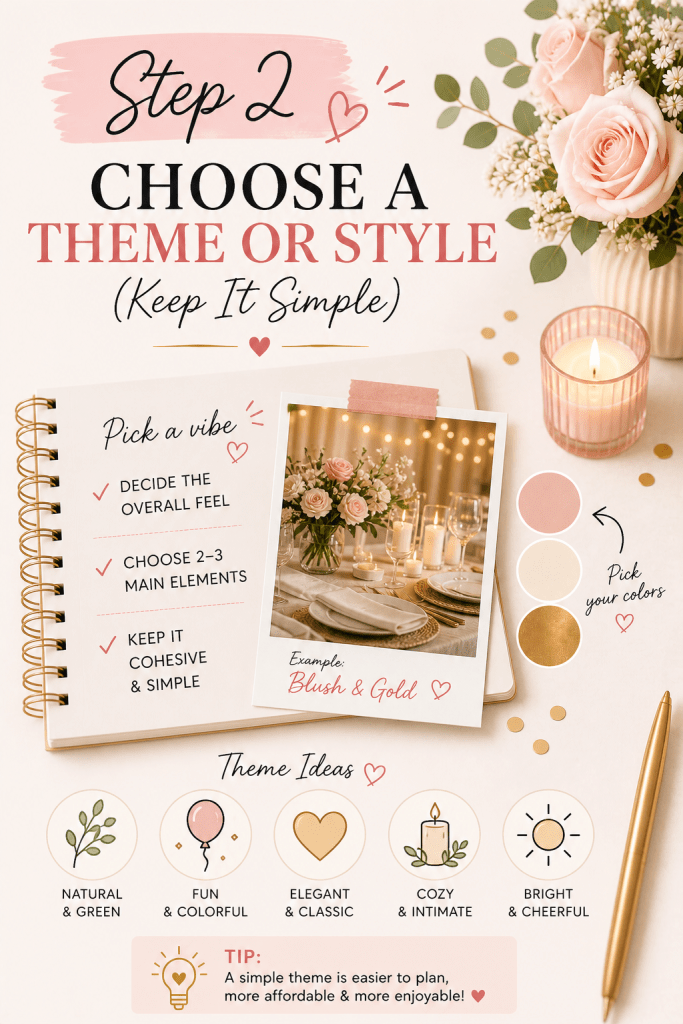
You don’t need anything elaborate—but having a direction helps.
Examples:
- Neutral + elegant (great for showers)
- Bright + fun (perfect for birthdays)
- Seasonal (holidays, summer, fall, etc.)
- Color-based (pink & bows, blue & lemons, patriotic, etc.)
👉 This helps guide:
- Decorations
- Food presentation
- Invitations
- Table setup
Step 3: Send Invitations Early
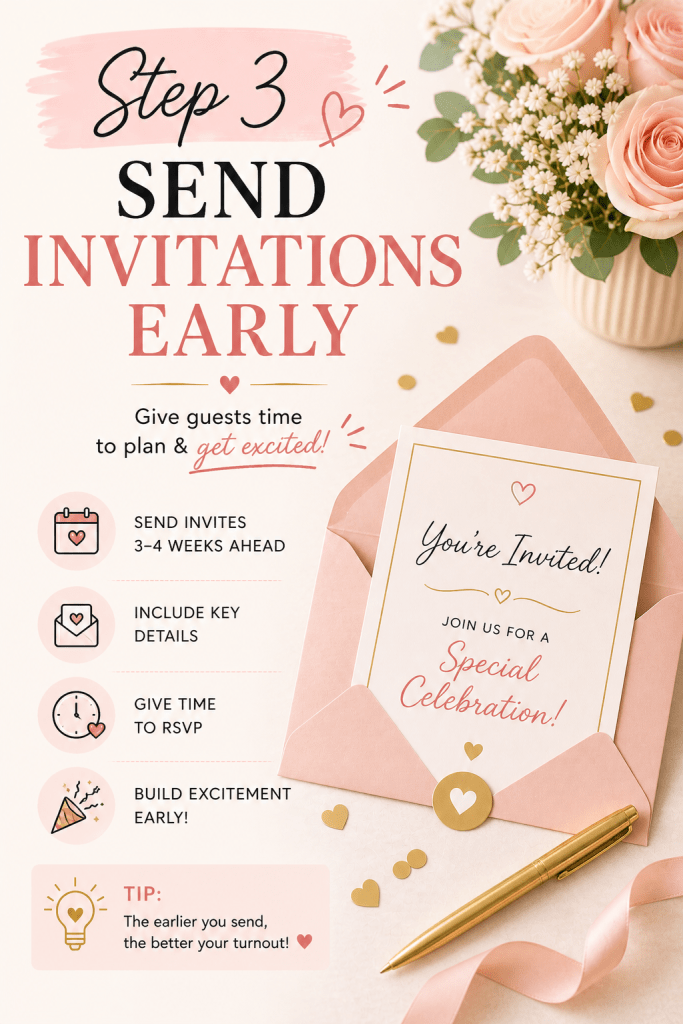
You can keep this super simple:
- Digital invites (quick and easy)
- Printable invitations
- Text/email for casual gatherings
Timing:
- Small party: 1–2 weeks ahead
- Larger events/showers: 3–4 weeks ahead
Include:
- Date & time
- Location
- RSVP info
- Theme (if needed)
Shop Downloadable Invitations Here
Step 4: Plan the Food (Keep It Realistic)
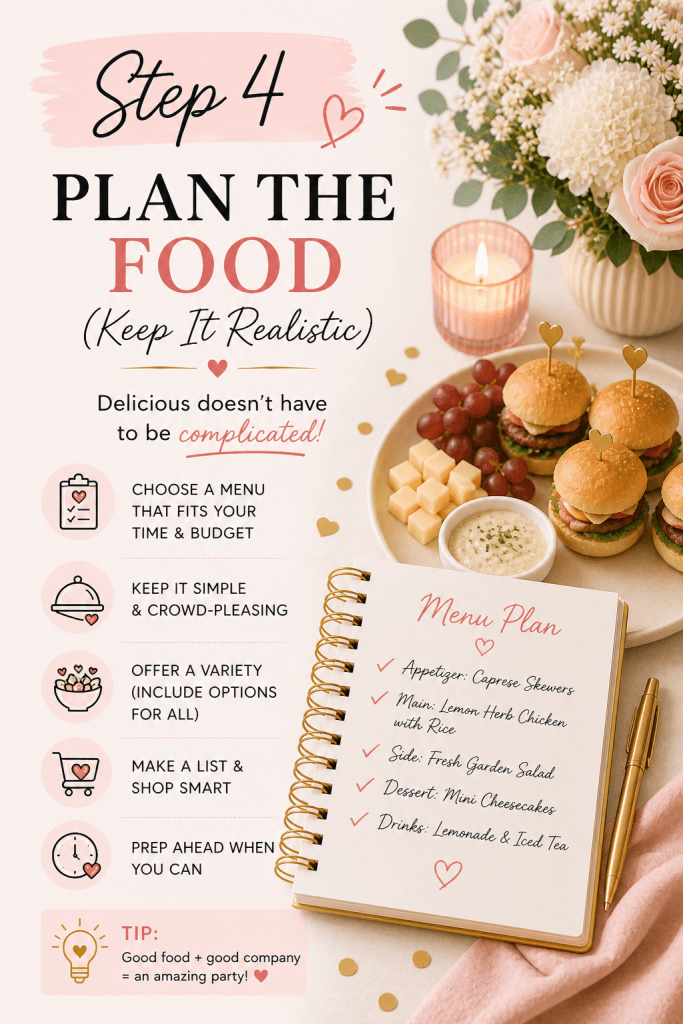
This is where most people overcomplicate things.
Instead, choose ONE of these approaches:
Option 1: Simple Finger Foods
- Sliders or sandwiches
- Fruit tray
- Chips + dip
- Dessert table
Option 2: Build-Your-Own Station (Highly recommended)
- Taco bar
- Charcuterie board
- Pasta bar
- Baked potato bar
Option 3: Mix Homemade + Store-Bought
- One main dish homemade
- Everything else easy
👉 Pro tip:
No one remembers if everything was homemade—they remember if it was enjoyable.
Step 5: Set Up Zones (This Changes Everything)
Instead of one crowded table, break your space into sections:
- Food station
- Drink station
- Gift area (for showers/birthdays)
- Seating area
- Activity/game space (if needed)
👉 This keeps people moving and prevents crowding.
Step 6: Keep Decor Clean & Intentional
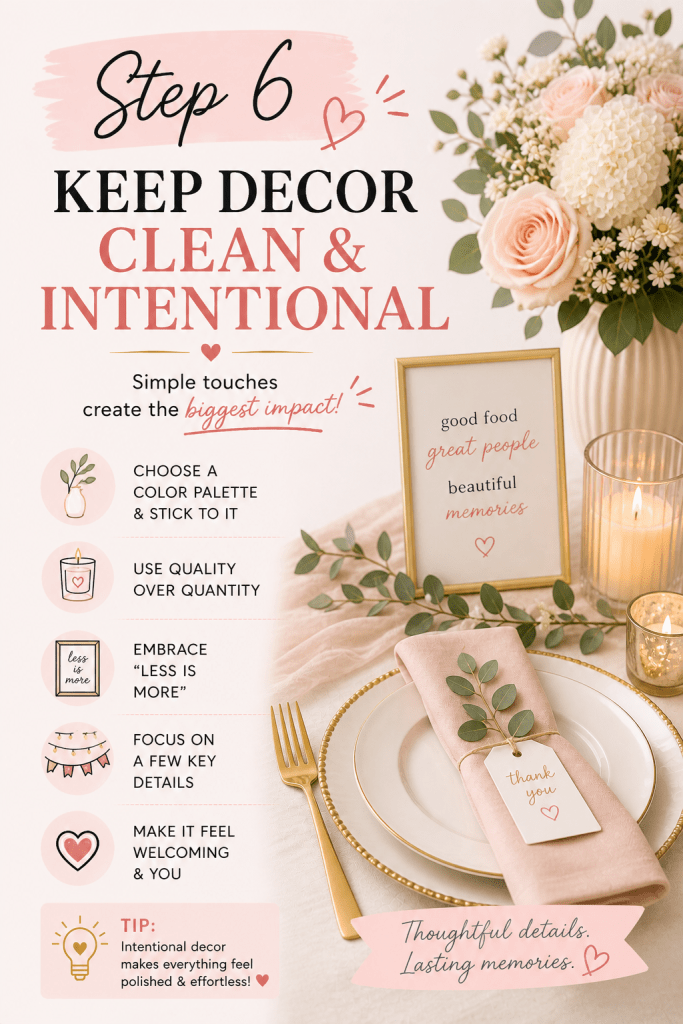
You don’t need a ton of decorations.
Focus on:
- One main focal area (table, backdrop, or entry)
- Coordinated colors
- A few layered elements (tablecloth, trays, signs, florals)
Easy wins:
- Balloons
- Simple centerpieces
- Matching serving trays
- A styled food table
👉 Less clutter = more elevated look.
Step 7: Prep Ahead (The Real Secret)
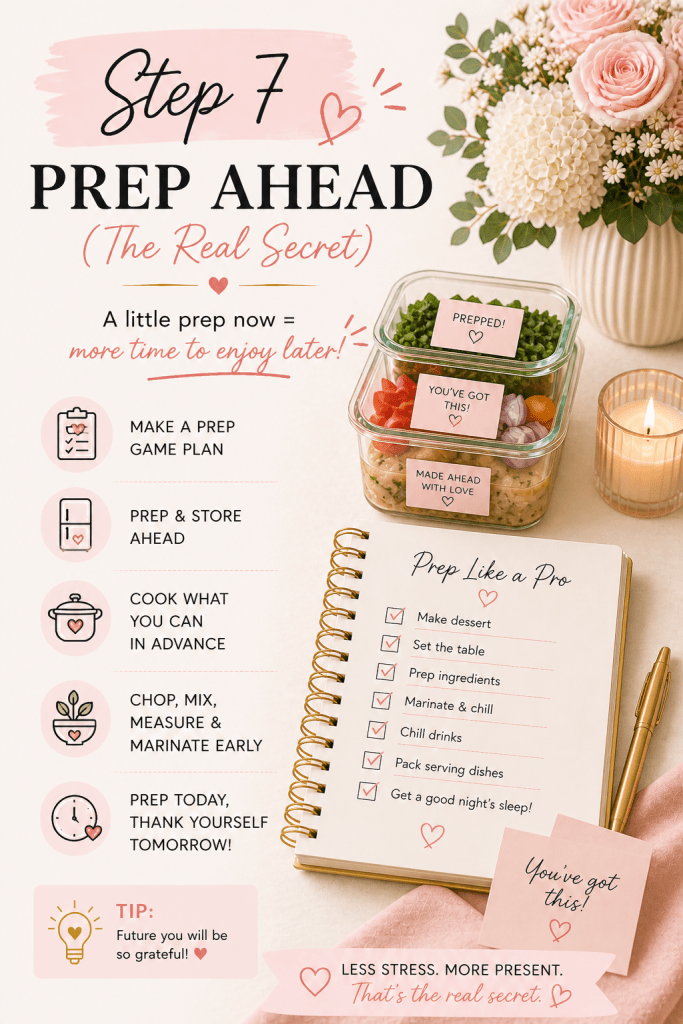
The best hosts aren’t doing everything the day of.
Do this instead:
1–2 days before:
- Clean your space
- Prep food that can be made ahead
- Set up decorations
Day of:
- Put food out
- Turn on music
- Light candles (if using)
👉 Goal:
You should NOT be rushing when guests arrive.
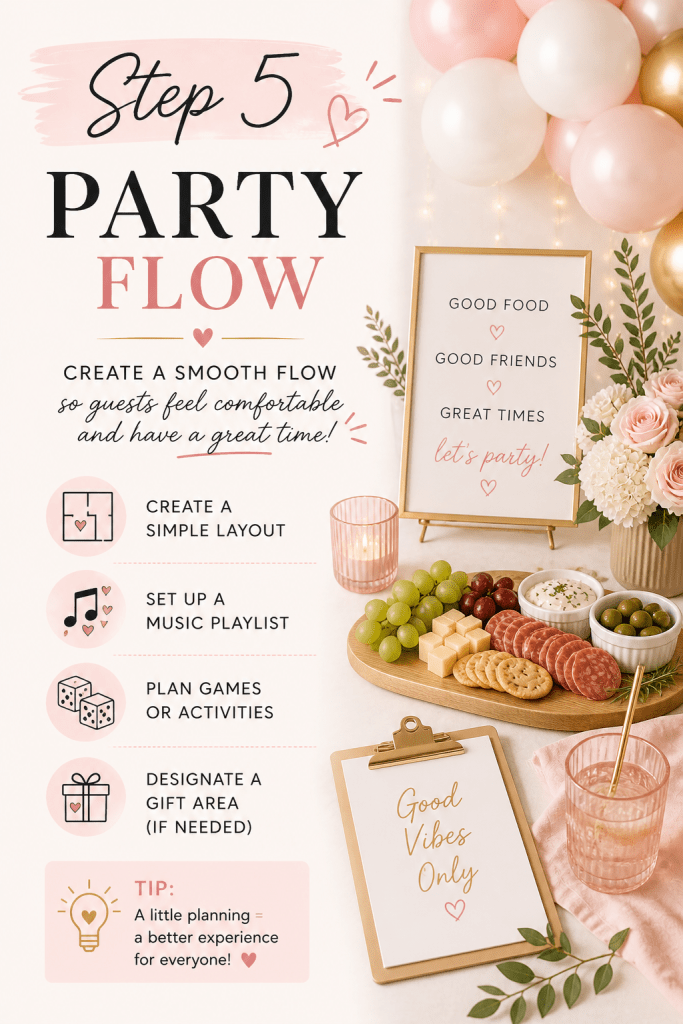
Step 8: Create a Simple Flow
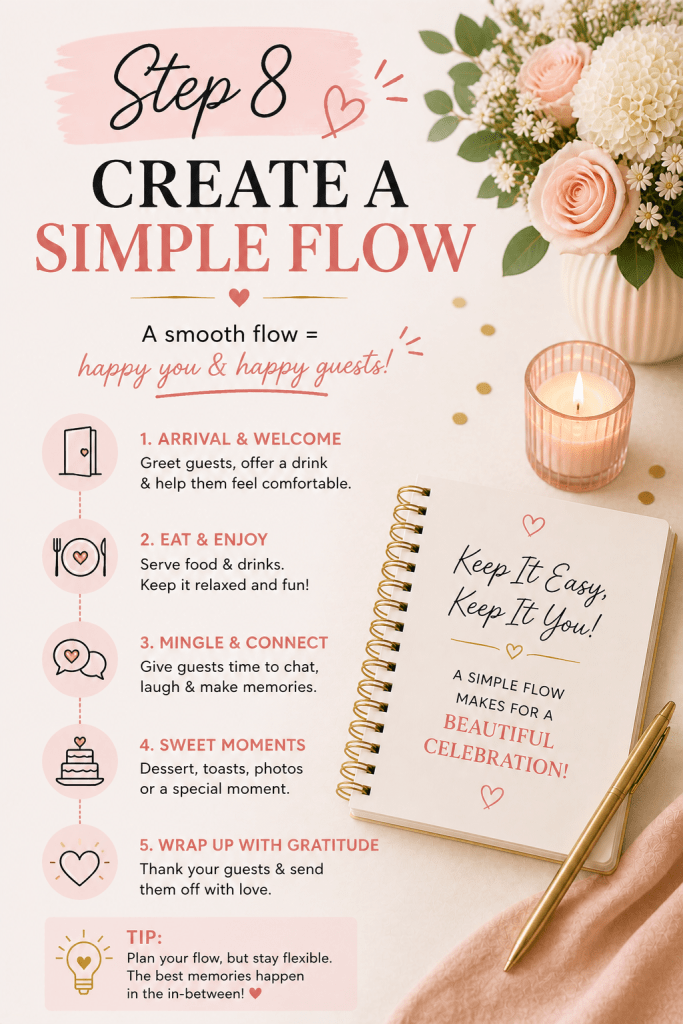
A good party feels easy—not chaotic.
Make sure:
- Guests know where to go when they arrive
- Drinks are easy to grab
- Food is accessible
- Trash is visible (but not in the way)
Add:
- Light background music
- A simple activity (optional)
- Comfortable seating
Step 9: Don’t Over-Schedule
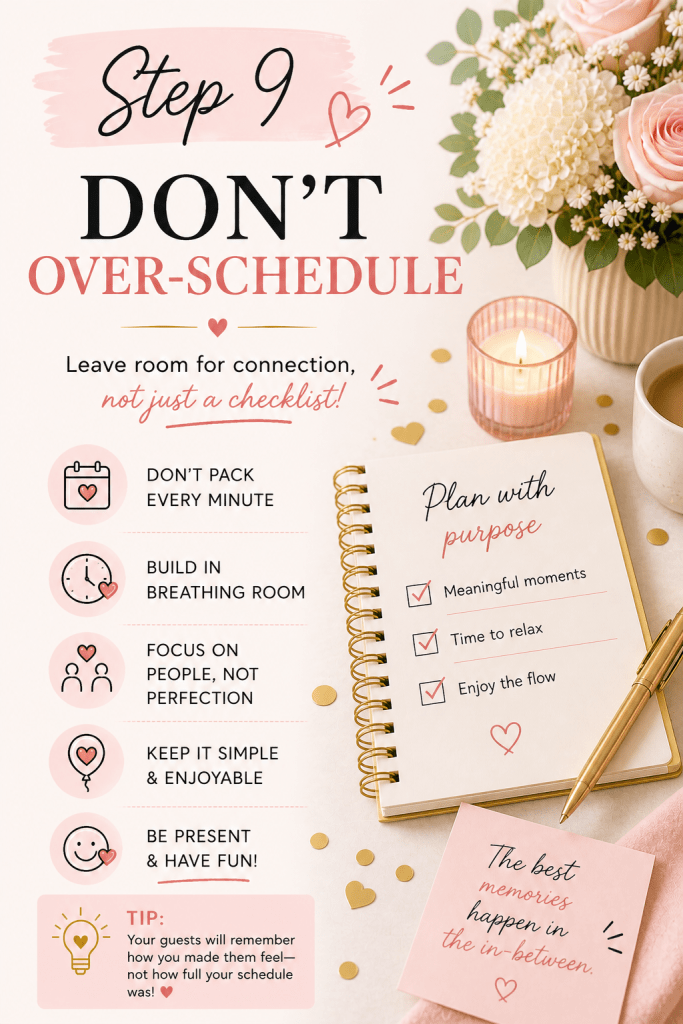
You don’t need a strict timeline.
For most parties:
- Arrival + mingling
- Food
- Cake/gifts (if applicable)
- Relax + enjoy
👉 People are there to connect—not follow a schedule.
Step 10: Actually Enjoy Your Party
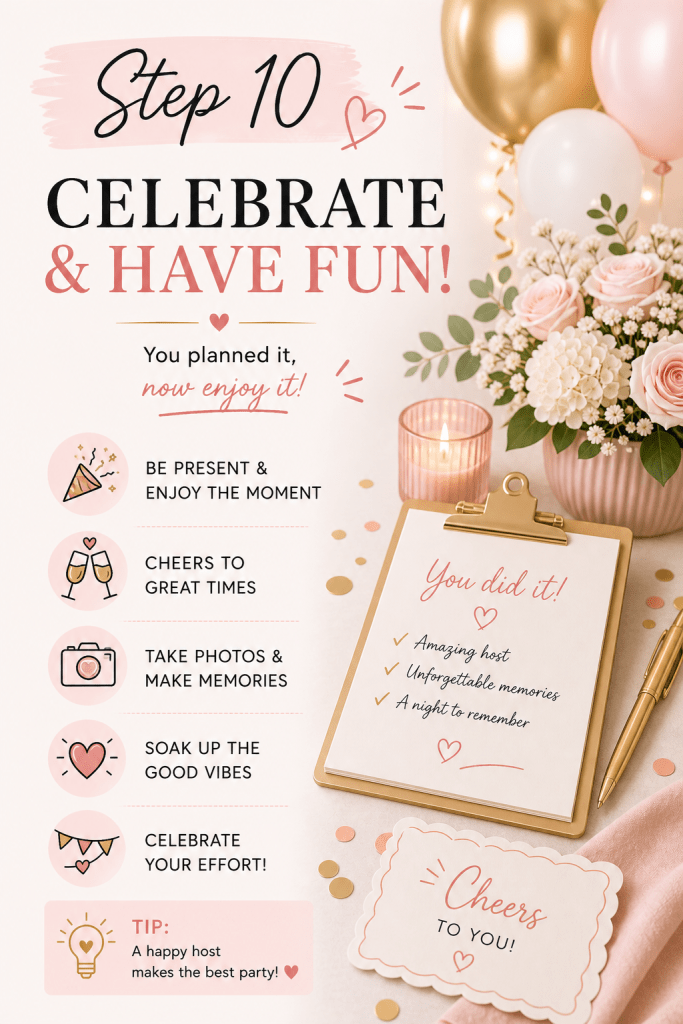
This is the part most people miss.
You’ve already done the work.
- Sit down
- Eat your food
- Talk to your guests
- Be present
👉 A relaxed host = a better party.
Final Thoughts
You don’t need a perfect party to create a memorable one.
You just need:
- A simple plan
- Easy food
- A clean setup
- And a space where people feel comfortable
That’s what people remember.
This post may contain affiliate links, which means I may earn a small commission if you purchase through my links at no extra cost to you.

Leave a comment