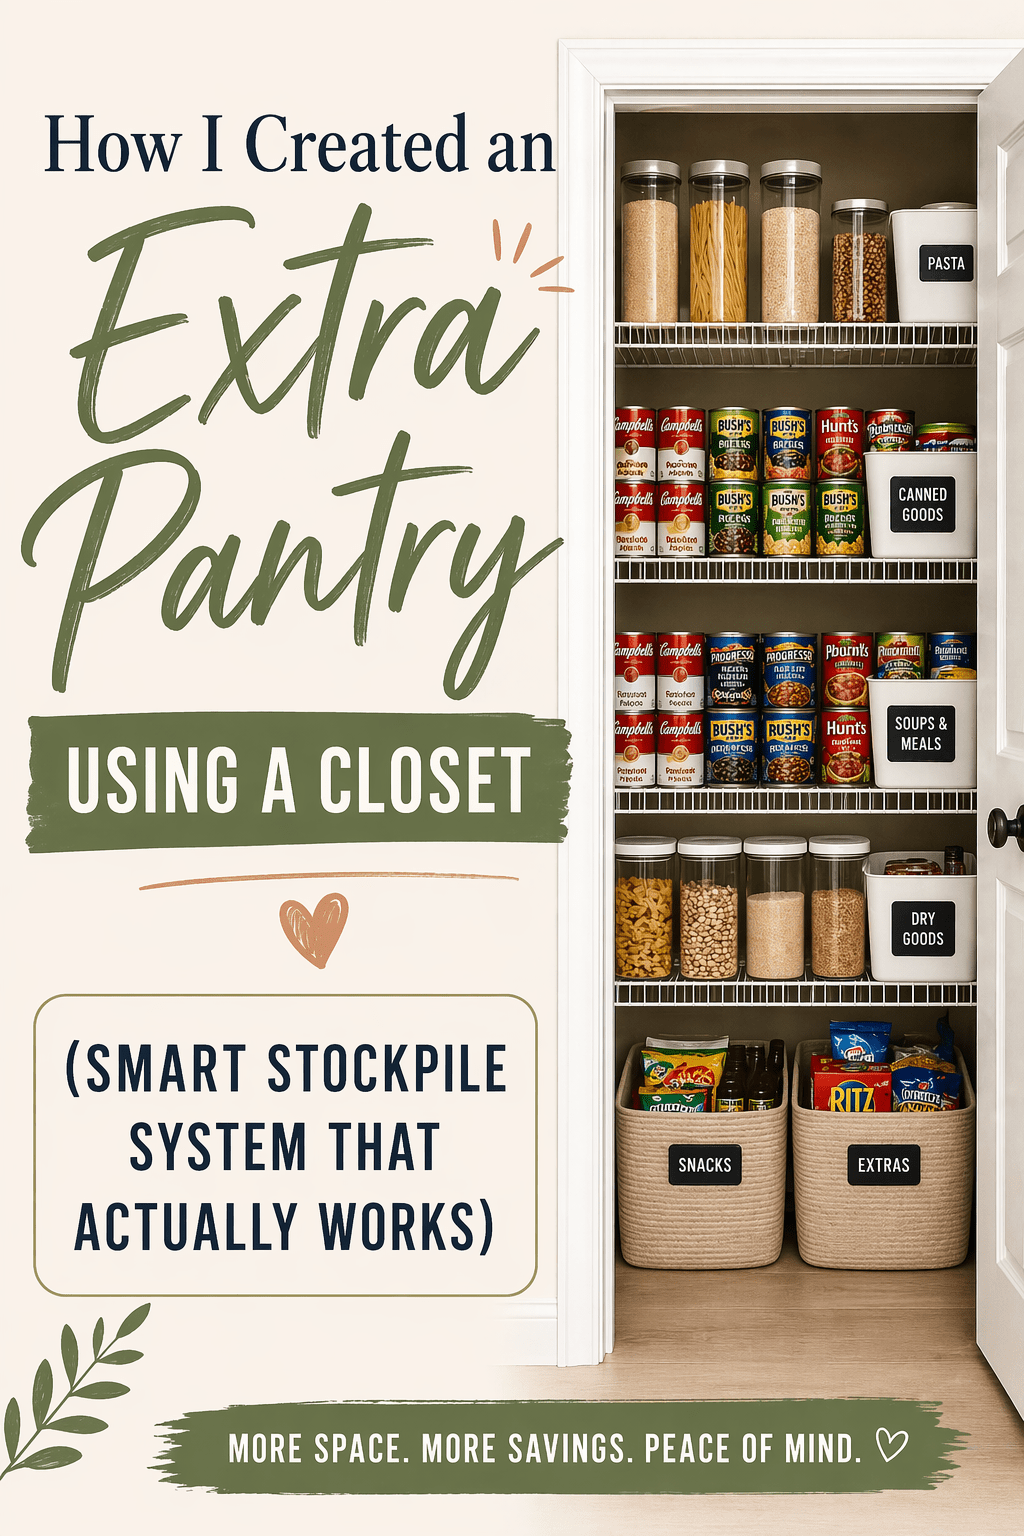
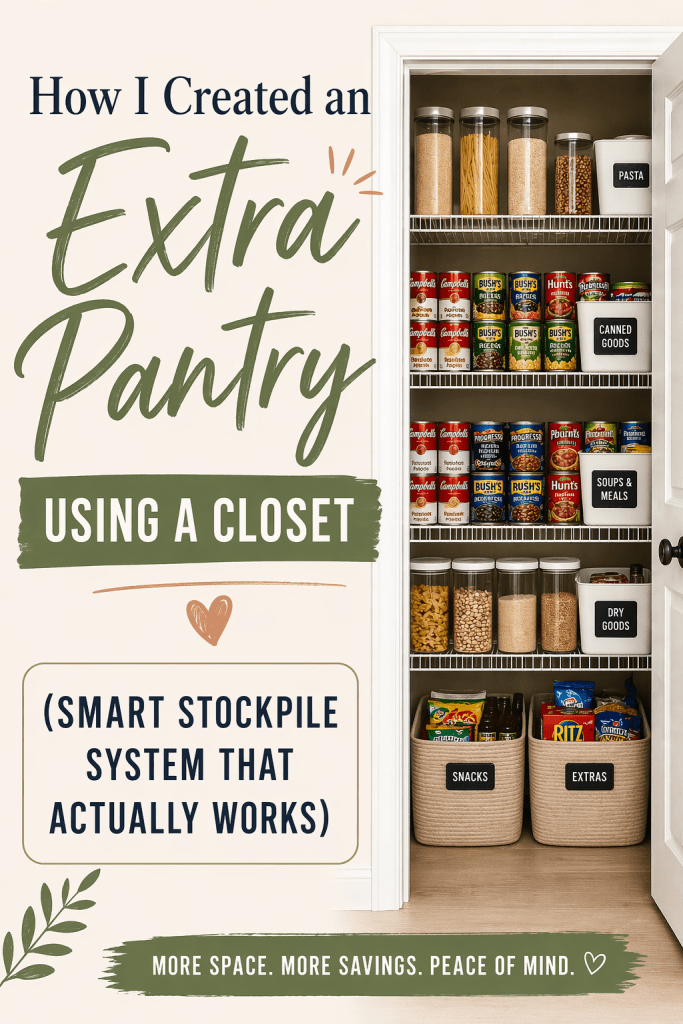
If your kitchen pantry always feels too small… this is the solution no one talks about.
I stopped trying to cram everything into one space and instead created a second “backup pantry” using an unused closet upstairs — and it completely changed how I manage food, save money, and stay prepared.
money, and stay prepared.
This isn’t extreme prepping.
This is smart, organized, everyday living.
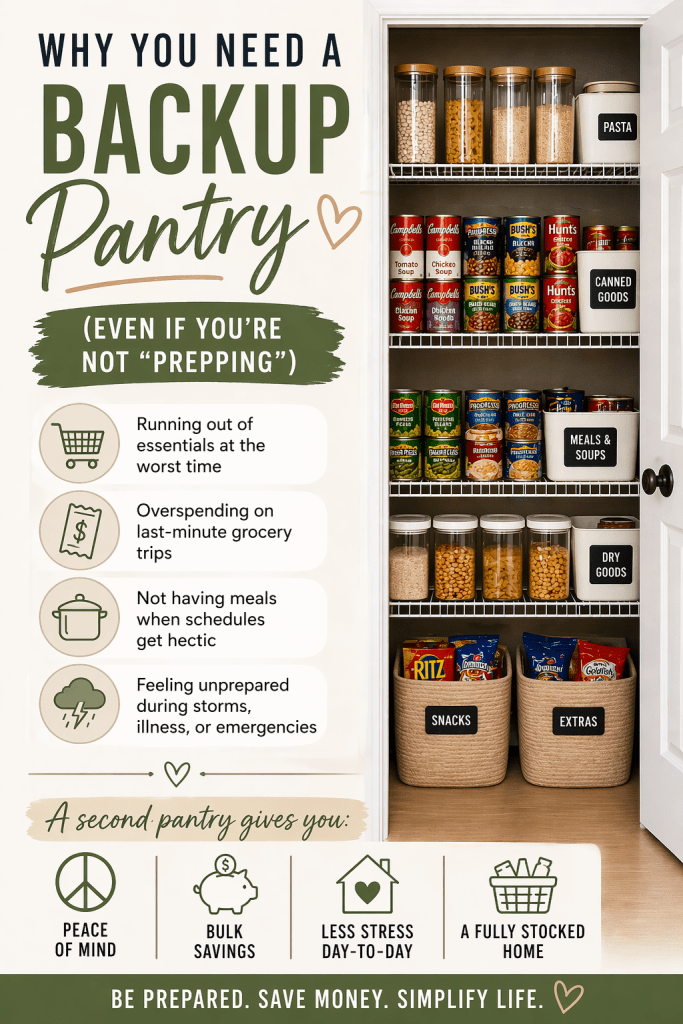
Why You Need a Backup Pantry (Even If You’re Not “Prepping”)
Most people rely on one pantry… and that’s the problem.
Here’s what having an extended pantry solves:
- Running out of essentials at the worst time
- Overspending on last-minute grocery trips
- Not having meals when schedules get hectic
- Feeling unprepared during storms, illness, or emergencies
A second pantry gives you:
✔ Peace of mind
✔ Bulk savings
✔ Less stress day-to-day
✔ A fully stocked home without cluttering your kitchen
Where to Create Your “Extra Pantry”
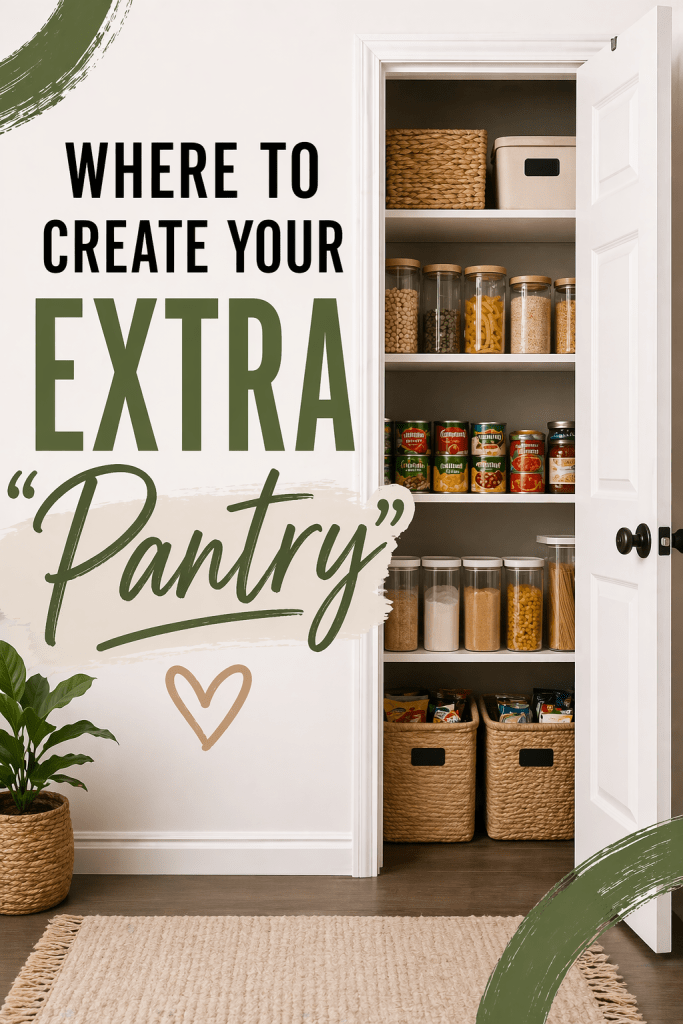
You don’t need anything fancy.
I use:
- An upstairs closet
But this also works with:
- A hallway closet
- Guest room closet
- Laundry room space
- Even a garage (with proper storage bins)
The goal is simple:
👉 A dedicated space just for backstock — not daily use
What I Store in My Backup Pantry
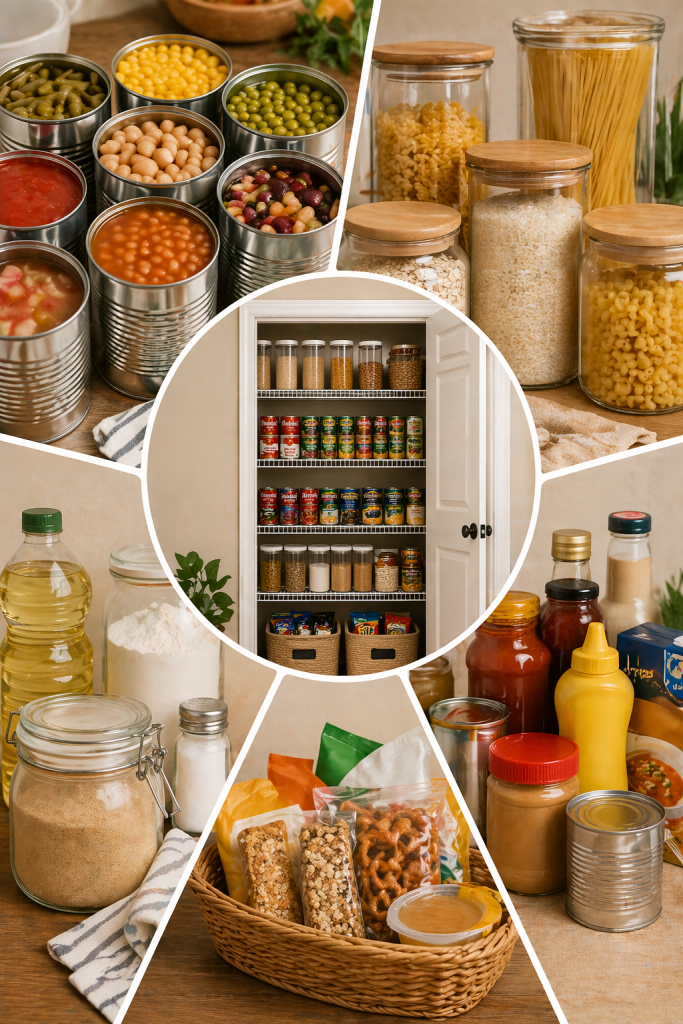
This is NOT random hoarding.
It’s intentional, organized stock.
Here’s what I keep stocked:
🥫 Canned Goods
- Vegetables (corn, green beans, peas)
- Beans
- Soups
- Tomato products
🍝 Dry Goods
- Pasta
- Rice
- Oatmeal
- Mac & cheese
🧂 Staples
- Flour
- Sugar
- Salt
- Cooking oils
🧃 Extras
- Broth
- Sauces
- Shelf-stable milk
- Snacks for kids
👉 Think: foods you already use — just more of them
The System That Makes This Work (THIS is the key)
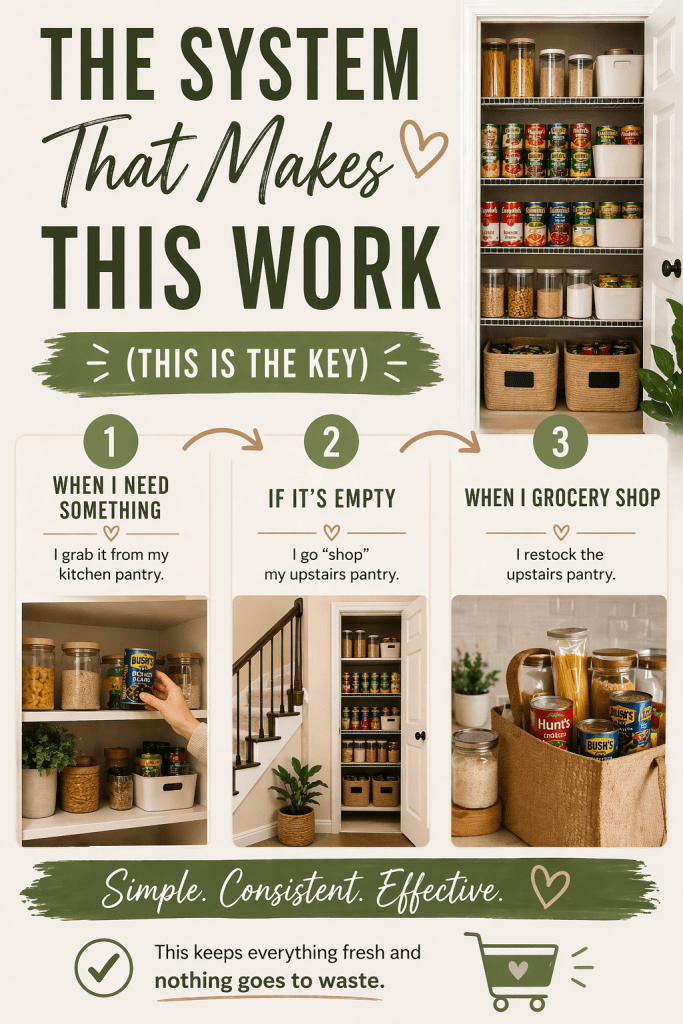
If you skip this part… it won’t work.
I follow a simple rule:
🔁 Rotate, Don’t Hoard
Here’s how:
- When I need something → I grab it from my kitchen pantry
- If it’s empty → I go “shop” my upstairs pantry
- When I grocery shop → I restock the upstairs pantry
👉 This keeps everything fresh and nothing goes to waste.
How to Set It Up (Simple + Organized)
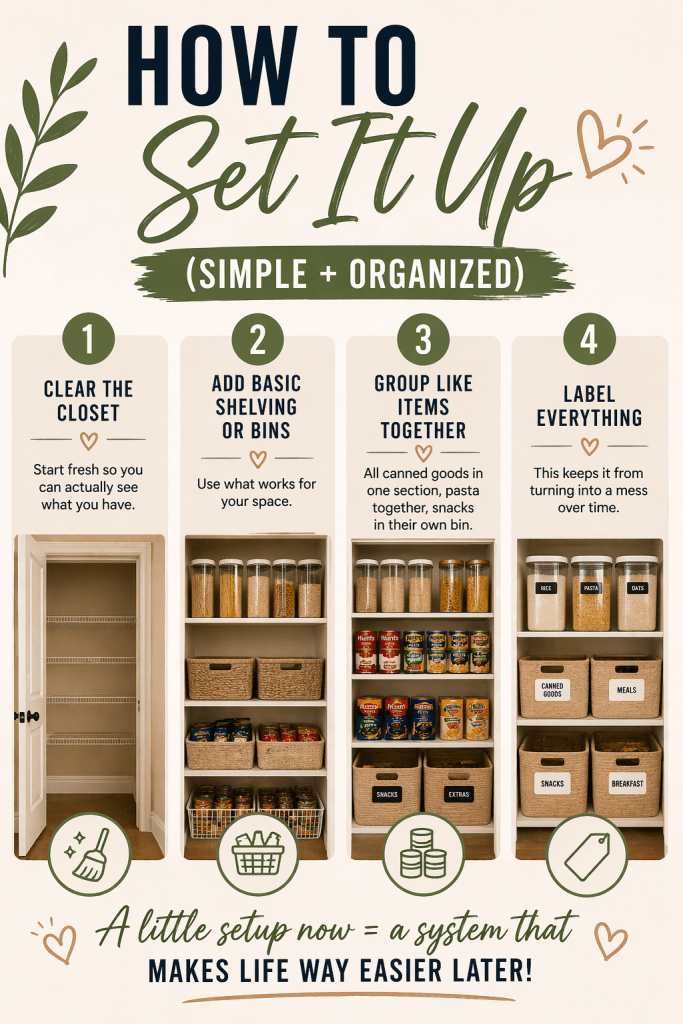
You don’t need a full makeover. Keep it clean and functional.
Step 1: Clear the Closet
Start fresh so you can actually see what you have.
Step 2: Add Basic Shelving or Bins
- Stackable bins
- Shelf risers
- Clear containers
Step 3: Group Like Items Together
- All canned goods in one section
- All pasta/rice together
- Snacks in their own bin
Step 4: Label Everything
This keeps it from turning into a mess over time.
Pro Tips That Make This Even Better
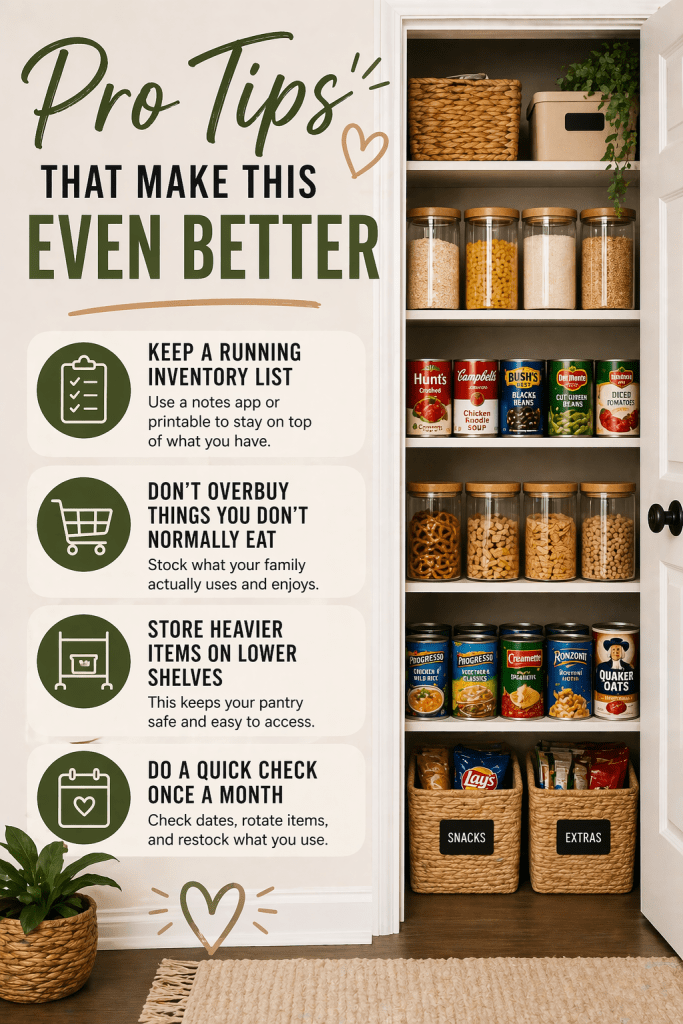
✔ Keep a running inventory list (notes app or printable)
✔ Don’t overbuy things you don’t normally eat
✔ Store heavier items on lower shelves
✔ Do a quick check once a month
How This Saves You Money (Big Time)
This setup isn’t just about convenience — it’s a money strategy.
You can:
- Buy in bulk when prices are low
- Avoid emergency grocery runs
- Take advantage of sales
- Reduce food waste
👉 Over time, this adds up FAST.
Real-Life Benefits You’ll Notice Immediately
Once you set this up, you’ll start to feel the difference:
- Your kitchen pantry stays clean
- Grocery shopping becomes easier
- You always have backup meals
- You feel way more in control of your home
Final Thoughts: This Just Makes Life Easier
This isn’t about having more stuff.
It’s about having a system that supports your life instead of stressing you out.
Creating an extra pantry in a closet is one of the simplest upgrades you can make — and once you do it, you won’t go back.
Want to Set This Up Faster?
I’ve linked some of my favorite pantry organization essentials (bins, labels, and space-saving tools) in my Amazon storefront.

Leave a comment