
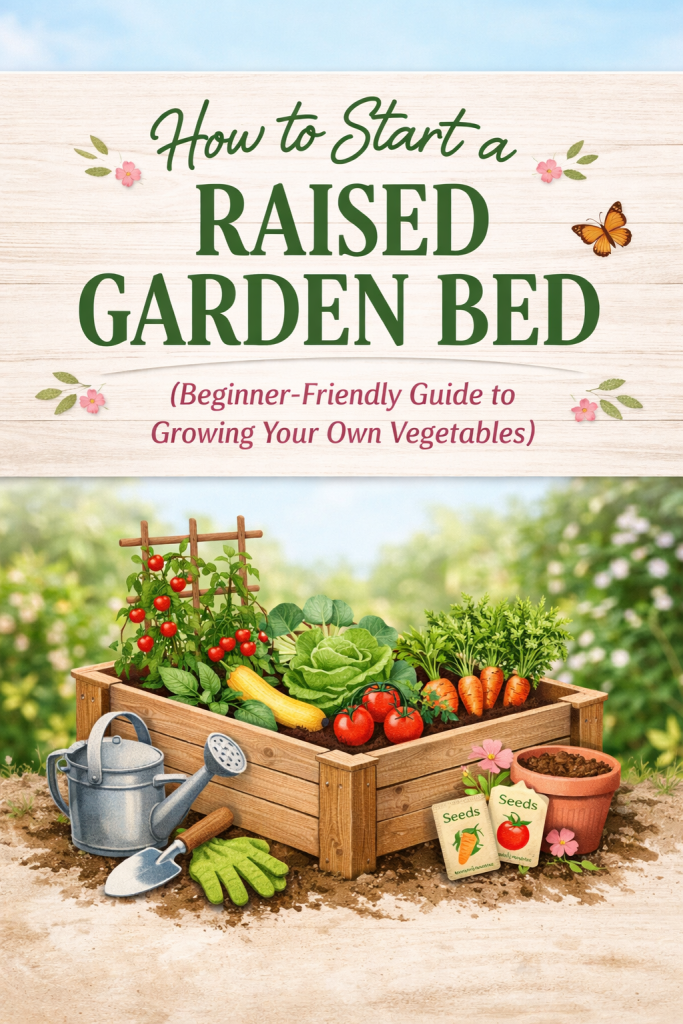
If you’ve been thinking about growing your own vegetables but feel overwhelmed… this is your sign to start simple.
A raised garden bed is one of the easiest, cleanest, and most beginner-friendly ways to grow fresh food at home — even if you don’t have a big yard.
This guide will walk you through exactly how to start (without wasting money or time).
Why Choose a Raised Garden Bed?
Before we get into the steps, here’s why raised beds are worth it:
- Better soil control (no guessing what’s in your ground)
- Fewer weeds
- Better drainage (less root rot issues)
- Easier on your back (no deep bending)
- Looks clean and organized (your vibe 👏)
Step 1: Pick the Right Location
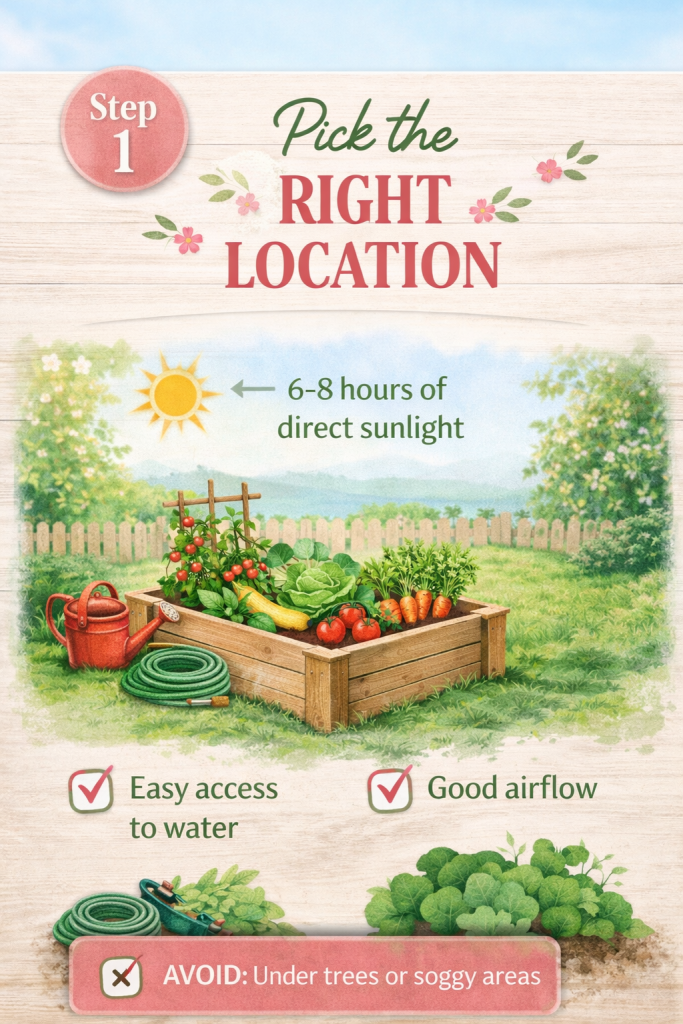
This matters more than anything.
Your vegetables need:
- ☀️ 6–8 hours of direct sunlight daily
- 💧 Easy access to water
- 🌬️ Good airflow
👉 Avoid: areas under trees or places that stay soggy after rain.
Step 2: Choose Your Raised Bed
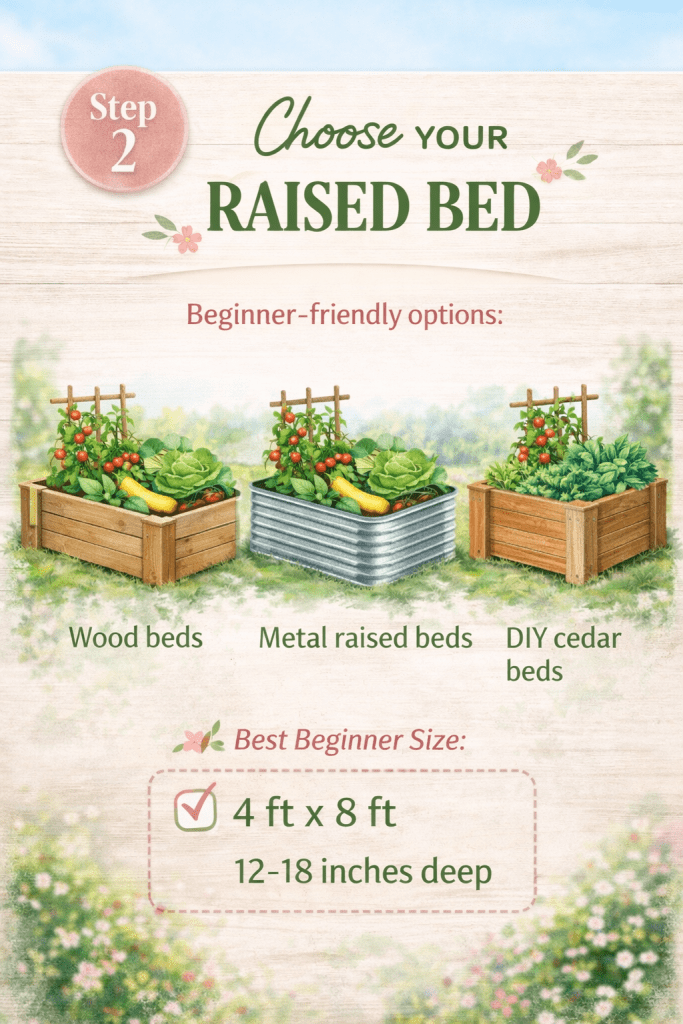
You don’t need anything fancy to start.
Beginner-friendly options:
- Wood beds (most popular)
- Metal raised beds (long-lasting)
- DIY beds using cedar boards
📏 Best beginner size:
- 4 ft x 8 ft
- About 12–18 inches deep
👉 This size gives you enough space without being overwhelming.
Step 3: Fill It the Right Way (This Is Where Most People Mess Up)
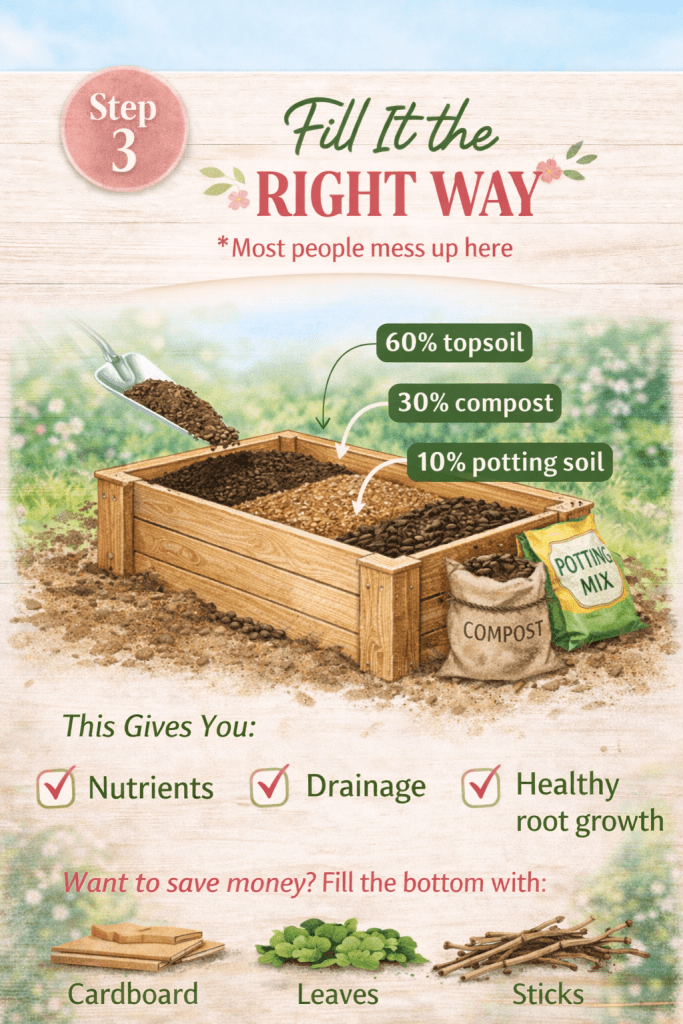
Do NOT just dump random dirt in and hope for the best.
Use this simple mix:
- 60% topsoil
- 30% compost
- 10% potting soil
💡 This combo gives you:
- Nutrients
- Drainage
- Healthy root growth
👉 Want to save money? Fill the bottom with:
- Cardboard
- Leaves
- Sticks
Then add your soil mix on top.
Step 4: Start With Easy Vegetables
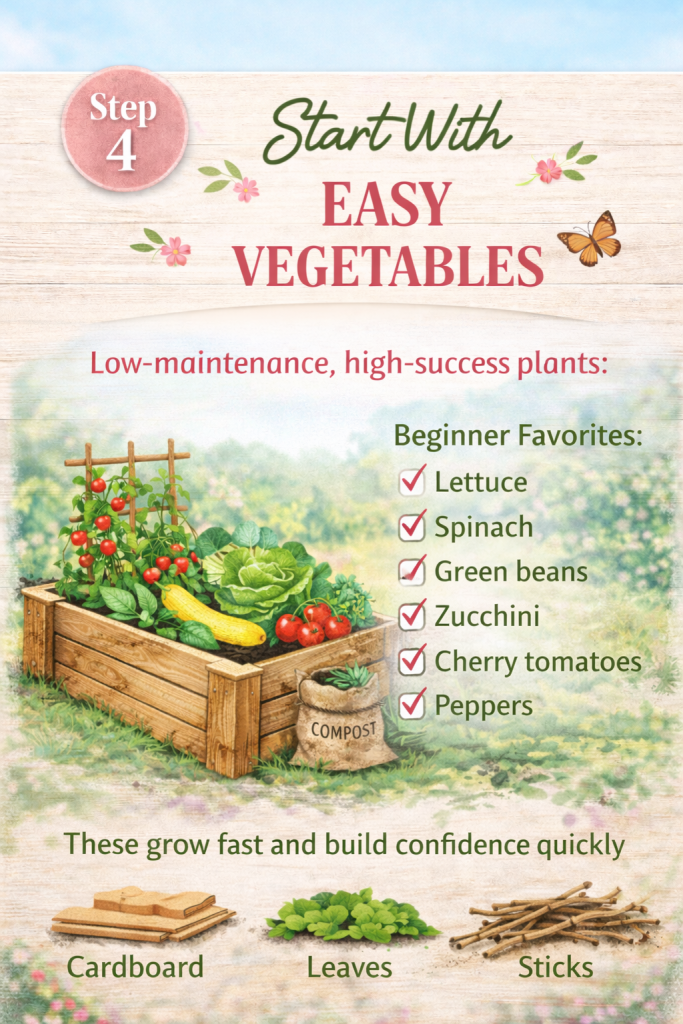
Don’t try to grow everything at once.
Start with low-maintenance, high-success plants:
🟢 Beginner Favorites:
- Lettuce
- Spinach
- Green beans
- Zucchini
- Cherry tomatoes
- Peppers
👉 These grow fast and build confidence quickly.
Step 5: Plant the Right Way
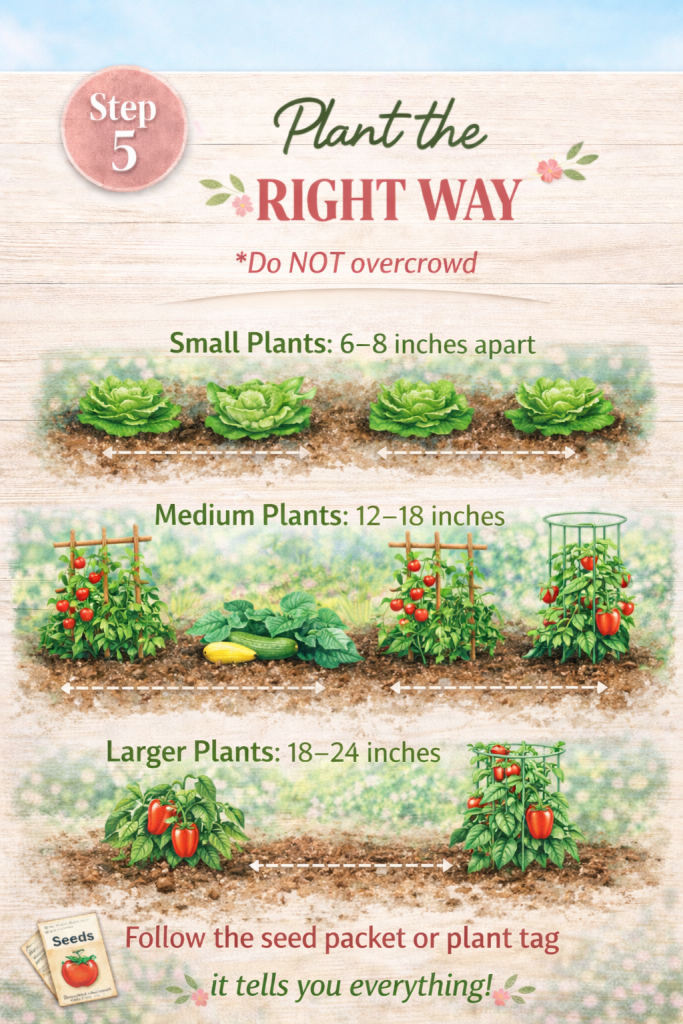
Check spacing — overcrowding is the #1 beginner mistake.
General rule:
- Small plants: 6–8 inches apart
- Medium plants: 12–18 inches
- Larger plants (like tomatoes): 18–24 inches
💡 Follow the seed packet or plant tag — it tells you everything.
Step 6: Water Consistently (But Don’t Overdo It)
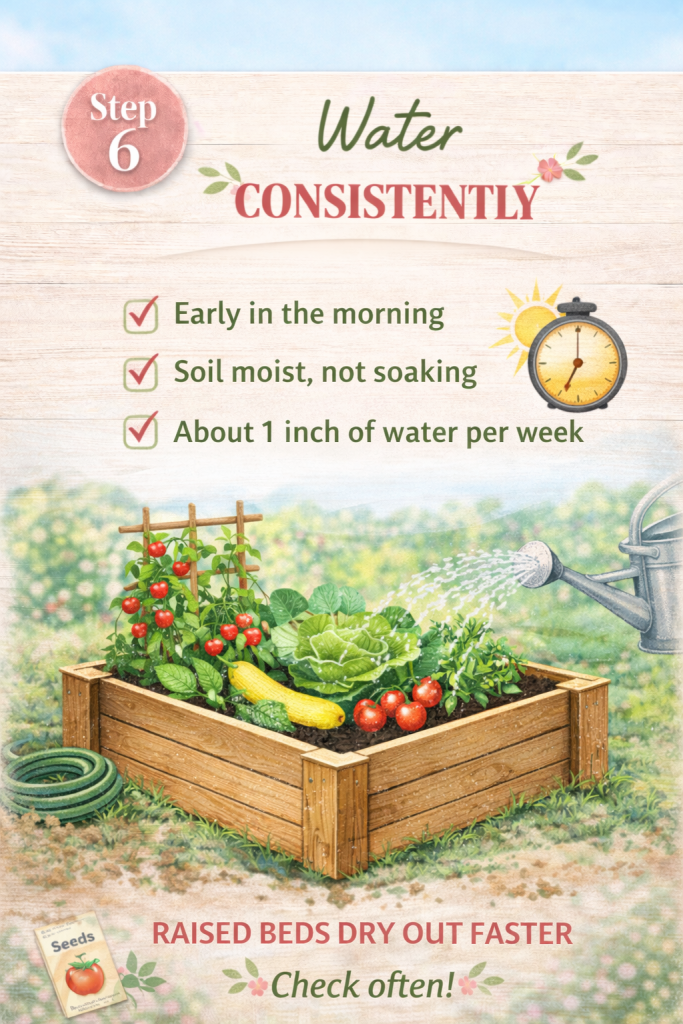
- Water early in the morning
- Keep soil moist, not soaking
- Aim for about 1 inch of water per week
👉 Raised beds dry out faster than ground soil, so check often.
Step 7: Add Mulch (Game Changer)
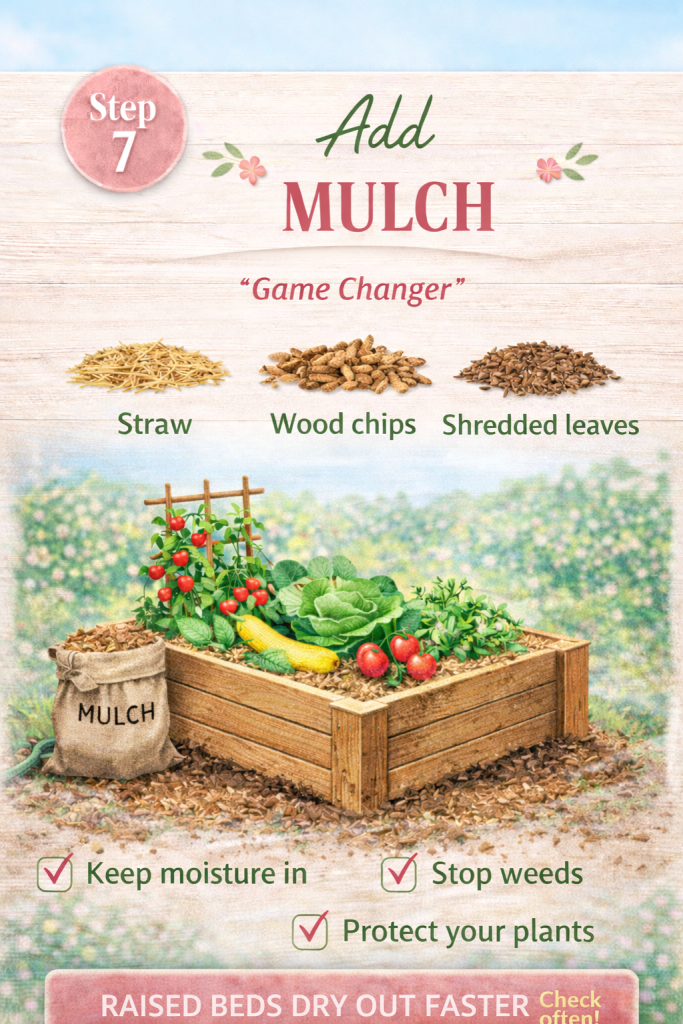
Mulch = less work for you.
Add:
- Straw
- Wood chips
- Shredded leaves
This helps:
- Keep moisture in
- Stop weeds
- Protect your plants
Step 8: Maintain Your Garden (Simple Routine)
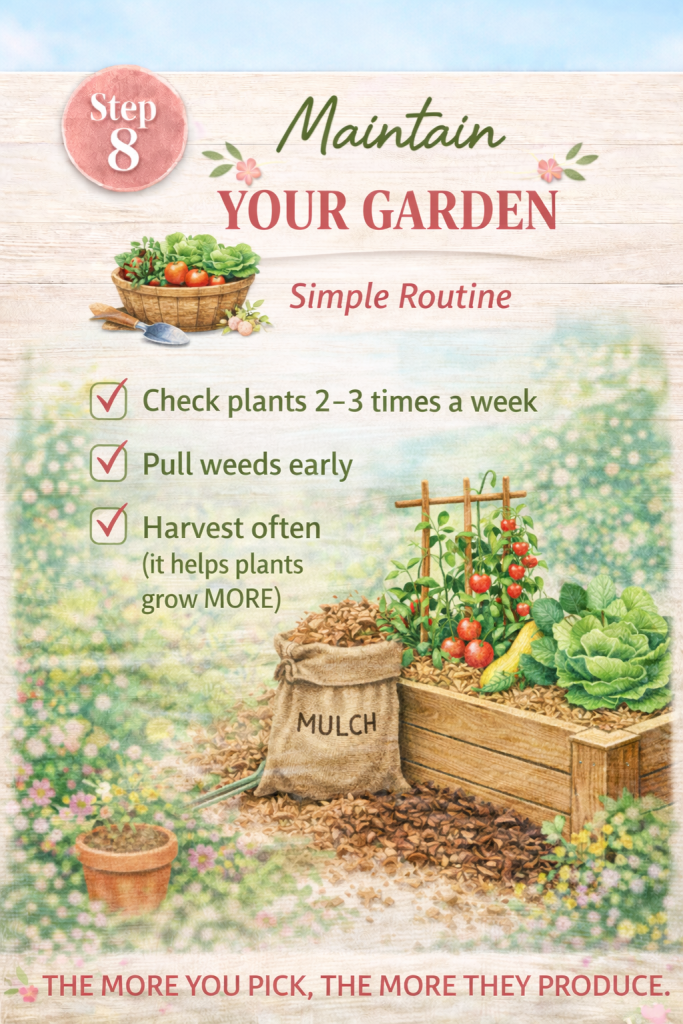
You don’t need to spend hours outside.
Just do this:
- Check plants 2–3 times a week
- Pull weeds early
- Harvest often (this helps plants grow MORE)
👉 The more you pick, the more they produce.
Optional Tools That Make It Easier
You don’t need all of these, but they help:
- Watering can or hose with sprayer
- Garden gloves
- Hand trowel
- Plant markers
- Tomato cages or supports
- Raised Garden Beds
Shop raised garden beds and tools here
Common Beginner Mistakes (Avoid These)
- Planting too much at once
- Not enough sunlight
- Overwatering
- Skipping good soil
- Ignoring spacing
👉 Keep it simple and you’ll succeed faster.
Final Thoughts
Starting a raised garden bed isn’t about being perfect.
It’s about creating something that works for your home, your schedule, and your lifestyle.
Start with one bed.
Keep it simple.
Learn as you go.
And before you know it… you’ll be picking your own fresh vegetables right from your backyard. 🌿
This post may contain affiliate links, which means I may earn a small commission at no extra cost to you.

Leave a comment